11 Essential Steps: The Toothpaste Trick That Makes Foggy Headlights Look Brand New
Once, your car's headlights cut through the dark like miniature searchlights. Years down the road, they’ve faded into dull, foggy globes barely illuminating the night. You’ve probably noticed this cloudy effect on more cars than your own, and wondered if you’re in for a pricey replacement or professional detailing bill. But what if the solution was sitting in your bathroom, right next to your toothbrush? The “toothpaste trick” for foggy headlights is one of those internet hacks that keeps resurfacing—offering a simple solution, loaded with both promise and skepticism.
1. Understand Why Headlights Get Foggy
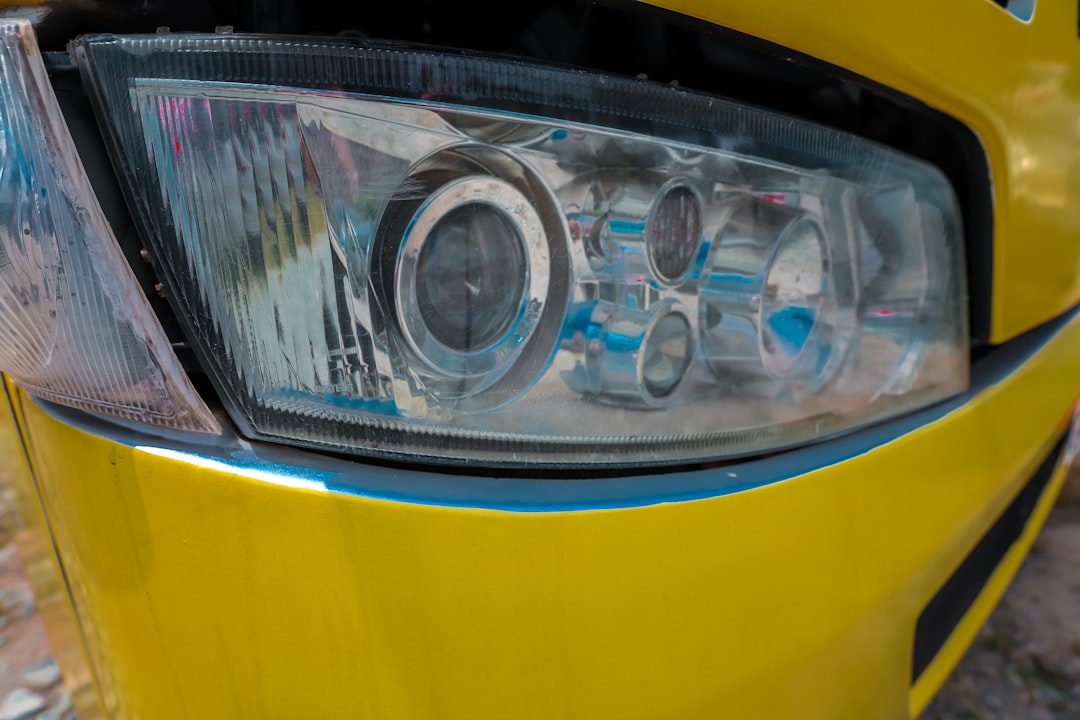
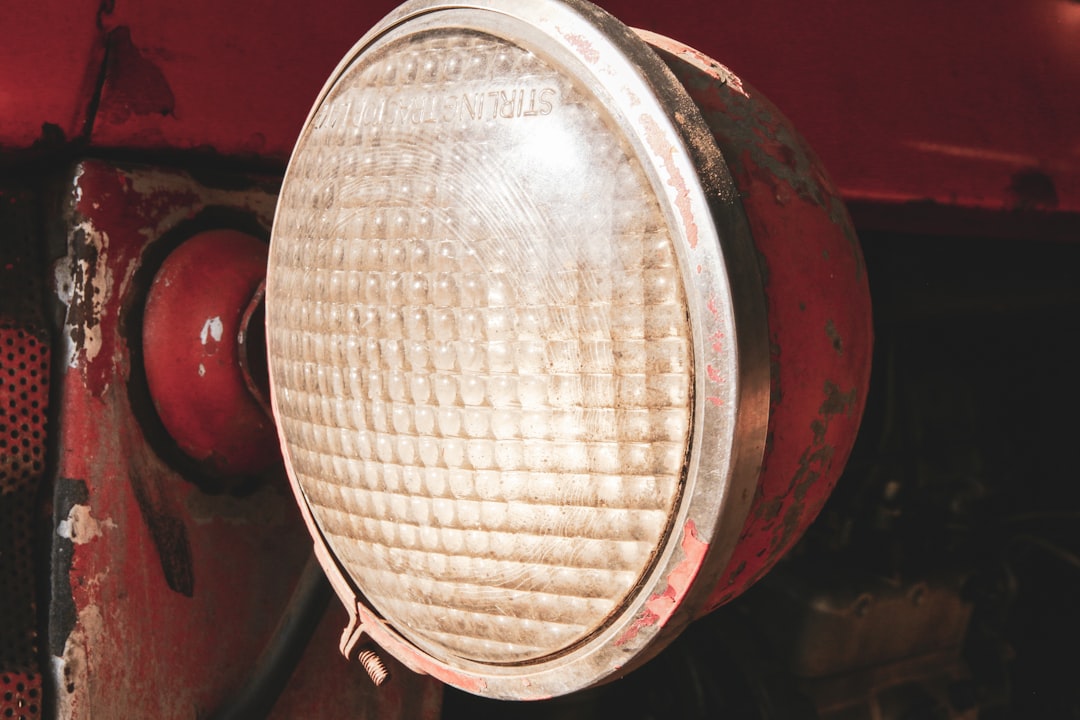
It’s easy to assume dirt or grime is the only culprit behind cloudy headlights. The true story, however, is all about the sun and the road. Most modern cars use polycarbonate lenses—durable enough to survive daily wear, but their clear factory coating is inevitably battered by ultraviolet rays, heat cycles, and flying debris. Over time, UV exposure breaks down that protective layer, leaving the lens vulnerable. The result? A yellowed, oxidized surface that refracts and scatters your headlight beams. Think of it as a sunburn on plastic—one that only gets worse with age and mileage. Even drivers who keep their cars sparkling clean will face this fog eventually, which means that keeping headlights bright isn’t just about washing: it’s about understanding the science of photodegradation and a little routine maintenance.
2. The Real Reason Toothpaste Works
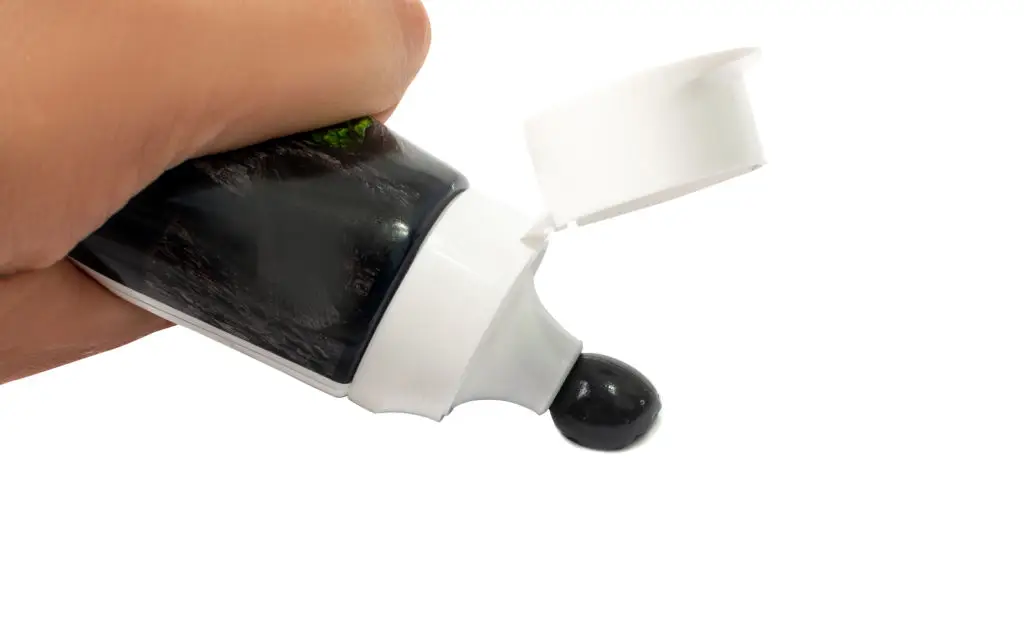
Toothpaste’s magic comes from the tiny abrasives packed into every tube. Just as it polishes stains off your teeth, those mild grits—think hydrated silica or baking soda—can gently sand away the damaged top layer of your headlight lens. Contrary to some online claims, toothpaste isn’t a miracle chemical; it’s simply a very fine polish designed for enamel that also works on plastic. Toothpastes with baking soda or labeled “whitening” are often more effective, but avoid anything with color gels, glitter, or extra chemicals. When applied with care, toothpaste can visibly clarify a foggy headlight—but it won’t rebuild a missing UV layer. That burst of clarity you see after a few minutes of scrubbing is satisfying, but understand that it’s only removing a thin, surface-level haze, not reversing deeper plastic damage or long-term exposure.
3. Gather the Right Materials
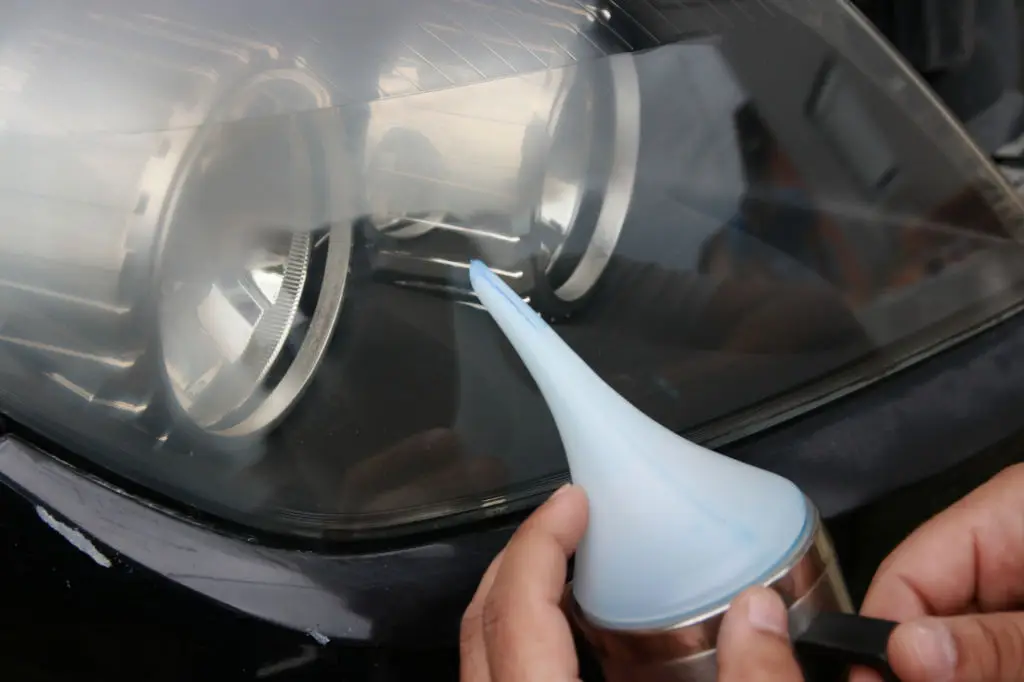
Before you dive into the restoration, it pays to assemble the right tools. You’ll need a tube of plain white toothpaste (skip colored gels or microbead kinds), a couple of clean microfiber cloths or soft cotton rags, a bowl of clean water, painter’s tape to mask off adjacent paintwork, and some protective disposable gloves. For a truly polished result, keep a gentle automotive soap handy to pre-clean the headlights, and consider buying an over-the-counter UV sealant for step eight. No fancy gadgets necessary—just everyday items and a dash of patience. If you’re short on supplies, baking soda mixed into toothpaste can offer extra abrasion, and any soft cloth free of grit or seams should do the trick. Prepping your workspace and laying out materials ensures a smooth, safe workflow from the start.
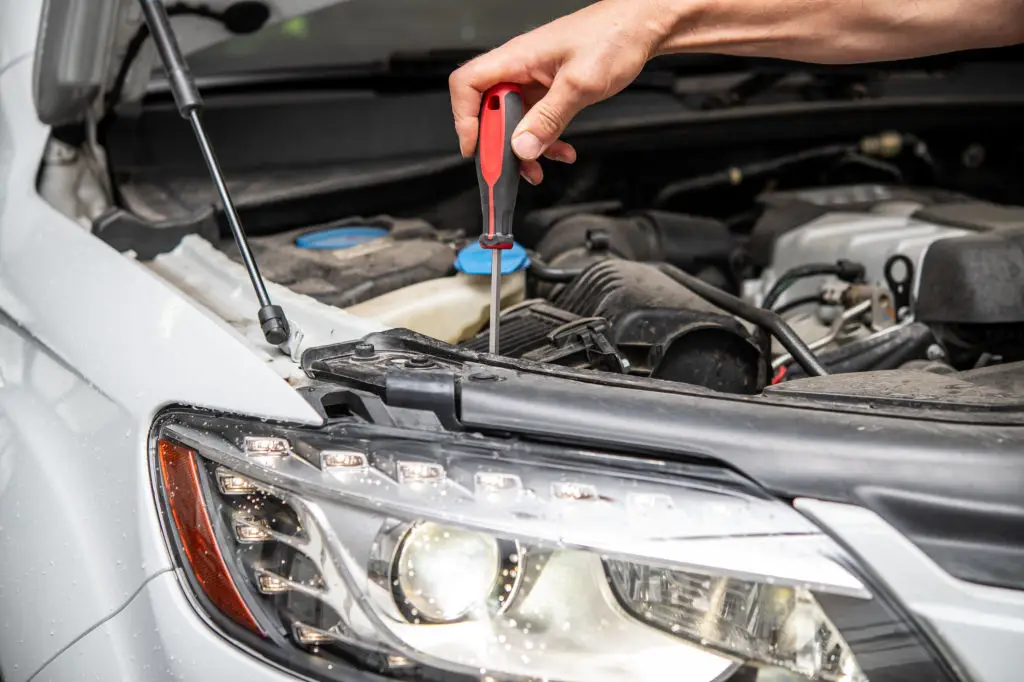
4. Prep Your Headlights and Area
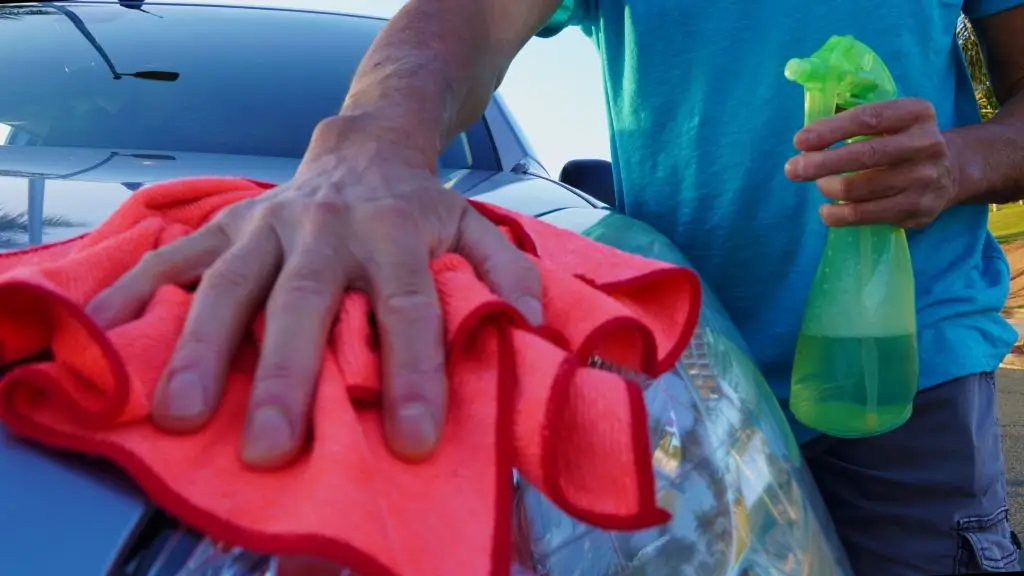
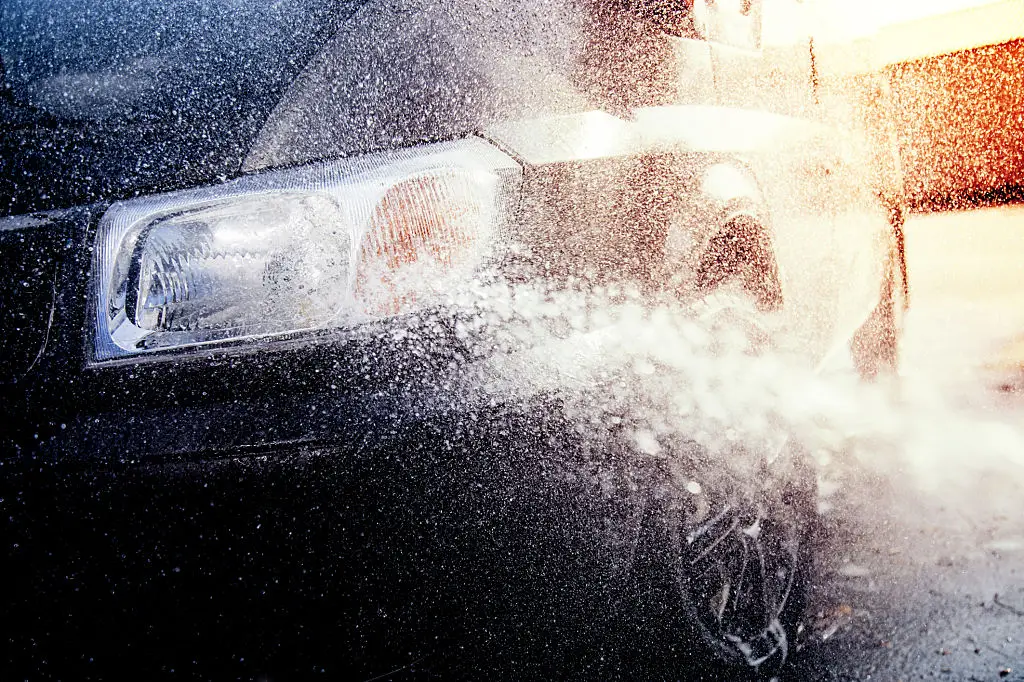
Now’s the time to set yourself up for success. Begin by washing the headlights with soap and water—removing all dust, bug splatter, and lingering road debris. Dry the area thoroughly with a microfiber cloth. Next, use painter’s tape to outline the headlight, protecting your car’s paint and trim from rogue abrasives. Gloves help protect your skin from potential irritation, and working in a shaded area prevents soap or cleaning solutions from drying too fast. Don’t skip these steps. Proper preparation minimizes risk of unwanted scratches and makes it far easier to see your results in the end. Whether cleaning one or both headlights, mindful setup is a mark of an automotive enthusiast who values both results and protection.
5. The Toothpaste Application Step-by-Step
Here’s where the magic happens. Dampen a corner of your microfiber cloth, then add a small dab of toothpaste—about the size of a nickel works for one headlight. Gently rub the paste onto the headlight surface using straight, overlapping motions. Don’t scrub in circles, which could leave swirl marks. Keep the lens and cloth slightly wet as you work; this prevents scratching and helps the abrasive particles do their job. For stubborn haze, buff a bit longer but never apply excessive pressure. Most drivers see improvement after 2–4 minutes, but for deeper fogging, you can repeat the application with a fresh dab and clean cloth. When the lens looks clearer and the toothpaste has grown cloudy with removed oxidation, you’re ready for the next round.
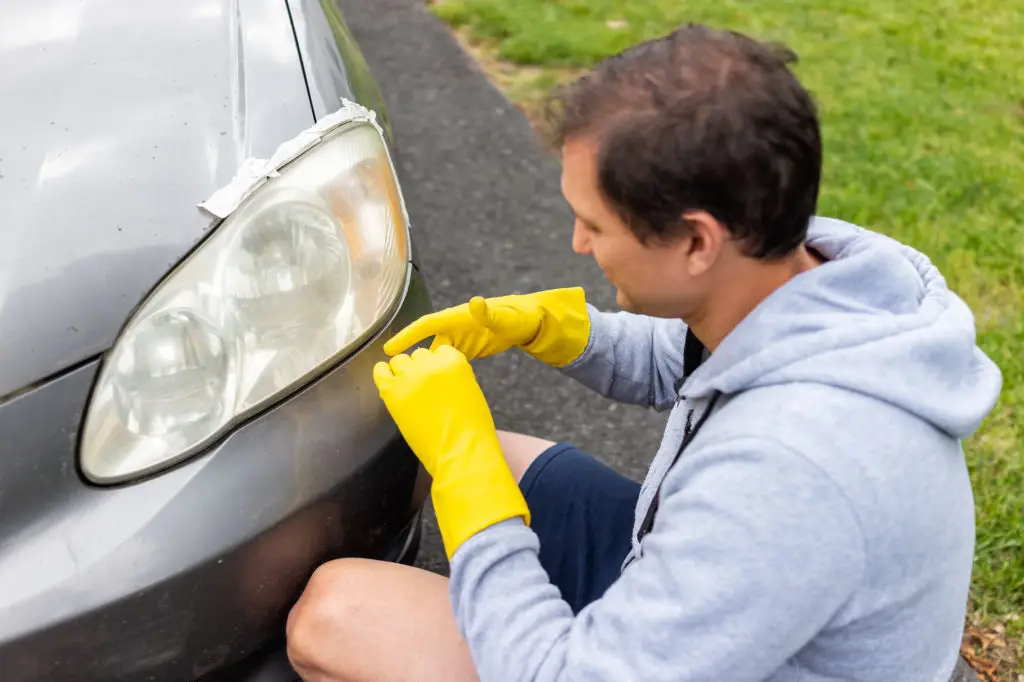
6. Rinse and Assess Your Results
After scrubbing, rinse the headlight thoroughly with fresh water and wipe away all residual toothpaste. Take a good look in natural daylight—has the yellowing or haze faded? If mild fog persists, it’s safe to repeat the treatment once more. If scratches or streaks appear, stop immediately; over-polishing can damage the plastic. A restored headlight lens should look notably brighter and clearer, though it won’t be indistinguishable from brand new. At this point, you’ll get a sense of how much more light your headlights can project across the driveway or street. The improvement should be immediate, but don’t expect perfect showroom results. The true mark of success: maximized clarity and minimized haze.
7. Common Pitfalls and Red Flags
Not all toothpaste tricks succeed equally. If you use colored gel toothpaste, harsh scrubbing pads, or excessive pressure, you’ll risk swirling, scratching, or even dulling the lens further. Stubborn haze that won’t shift? Your headlight may have deeper oxidation—signaling it’s time for a pro restoration or a commercial kit with graded abrasives. Watch for streaking, uneven patches, or signs that the plastic isn’t changing at all. These red flags may mean your headlight’s damage goes well beyond the surface layer. Always resist the urge to polish “just a little more.” More often than not, overworking the lens will do more harm than good. Approach each attempt with patience, and remember that consistent, gentle applications always win out over aggressive tactics.
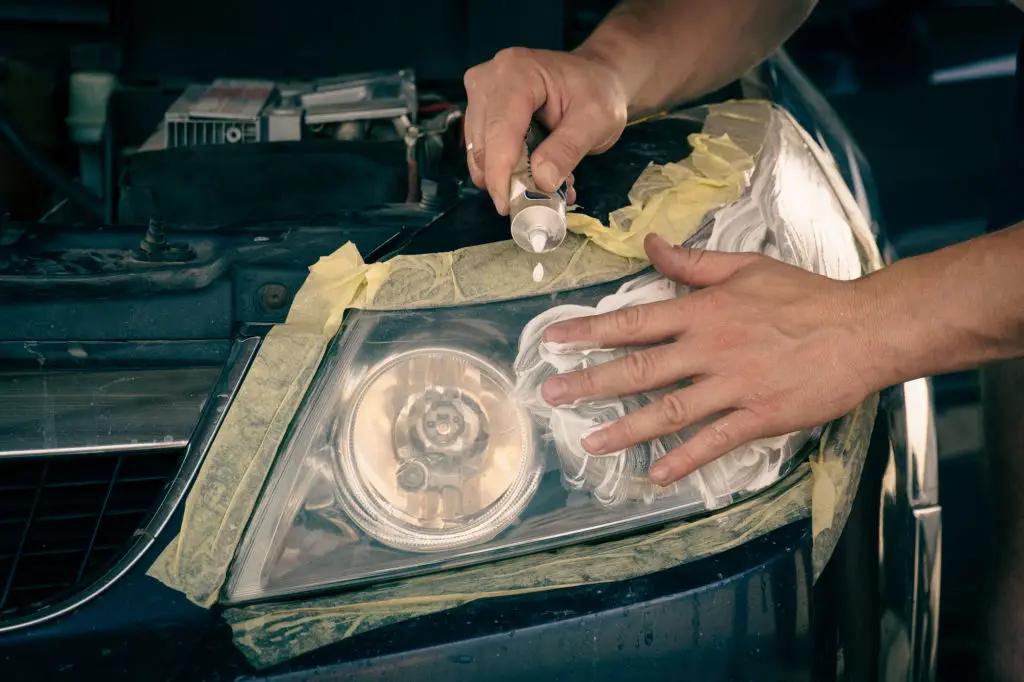
8. The Critical Step Everyone Misses: Reapplying UV Protection
Here’s the secret ingredient for longer-lasting results: reapplying a UV-protective sealant after polishing. When you rub off oxidation with toothpaste, you also strip away any remaining manufacturer’s UV coating. That leaves the lens unprotected, practically inviting the sun to start fogging things up again. A quick-dry automotive UV sealant—sprayed or wiped on—restores a vital layer, extending the clarity you’ve worked so hard to achieve. Some products are as simple as a damp microfiber swipe and a minute of drying. Don’t skip this step. Without it, many drivers find their headlights going hazy within months, making all their effort feel wasted. Invest the extra time now for a finish that holds up to sunlight, rain, and the daily grind.
9. How Toothpaste Compares to Other DIY & Pro Methods
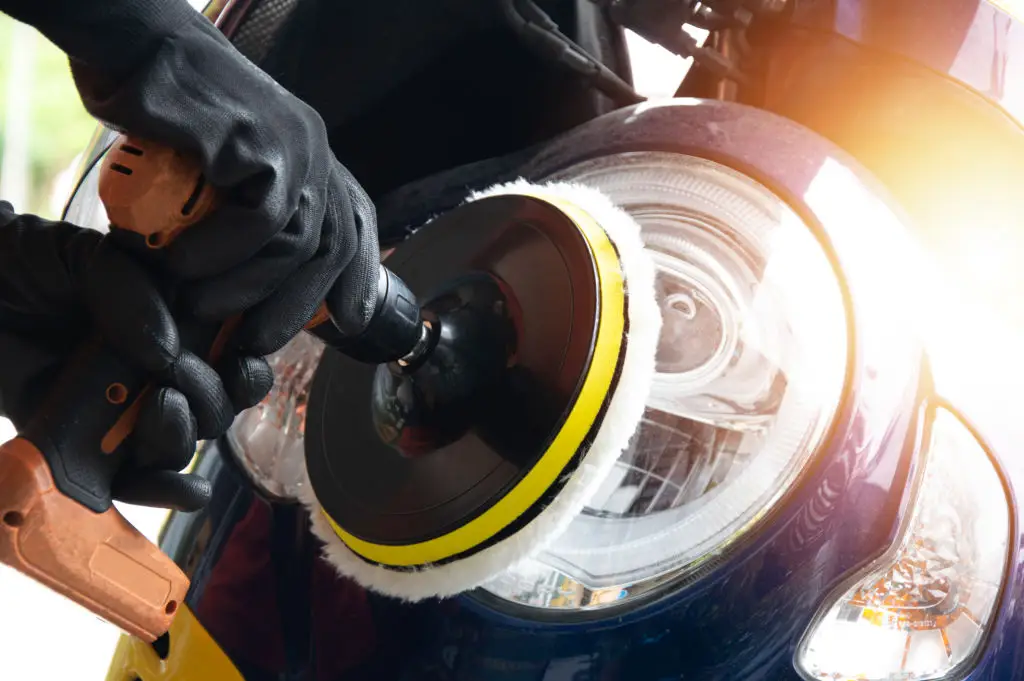
The toothpaste trick is quick and cheap, but it isn’t the only—or the best—option out there. Household alternatives like baking soda or vinegar scrubs offer slightly more abrasive muscle. For deeper, stubborn oxidation, commercial headlight kits include multiple grades of sandpaper, specialized polish, and a UV-protective finish for truly professional results. Professional restorers will even wet-sand and reapply industrial-grade film or clearcoat, giving a multi-year solution that outlasts any DIY approach. Think of toothpaste as the “first aid” kit for cloudy lenses, with pro methods being the full-on surgery. If your headlights are deeply yellowed, pitted, or have resisted several backyard attempts, investing in a kit or a detail shop will pay off with clarity and safety for the long haul.
10. How Long Will the Results Really Last?

Expect instant improvements, but don’t count on them for the long road. Toothpaste-restored headlights can start to re-fog within three to six months—sooner if the car lives in direct sunshine or harsh weather. Professional restoration, by comparison, may provide a year or more of crystal clarity, especially when protected with a specialty UV sealant or film. DIY kits tend to land between these extremes, offering moderate cost and results that last from a year to three, depending on your climate and driving habits. If headlights become cloudy again after a few weeks, it’s often a sign that deeper work or professional help is needed. Track your progress: set a reminder to check lens clarity every season, just as you’d check oil or tire pressure.
11. Maintenance and Safety Tips for Clearer Headlights Year-Round
A one-off cleaning isn’t enough for lasting clarity—real headlight safety takes steady care. Wash lenses often with gentle automotive soap and water; avoid harsh chemicals and abrasive pads that can undo your hard work. Every month or two, inspect lights for early signs of fogging or yellow spots. If you see them, act fast: a simple reapplication can often prevent bigger issues down the road. The safest move is to avoid repeated aggressive polishing—once a year is enough. And if your night vision seems compromised, don’t wait: clear headlights are essential for safe driving. When home fixes run out of road, trust a pro, just as you’d visit a specialist for a serious automotive need. Keeping headlights clear isn’t just about looks—it’s a matter of visibility and safety, mile after mile.
See the Road in a Whole New Light

There’s something undeniably rewarding about turning a dull, fogged-over headlight into a clear portal through the night. The toothpaste trick slots neatly between household ingenuity and real automotive science—a reminder that curiosity and a steady hand can reveal clarity where many see only haze. Yet, as we’ve seen, true brilliance is never just skin deep; long-term headlight clarity comes not just from scrubbing away oxidation, but from understanding the role of UV protection, safe maintenance, and when it’s time to call in the experts.